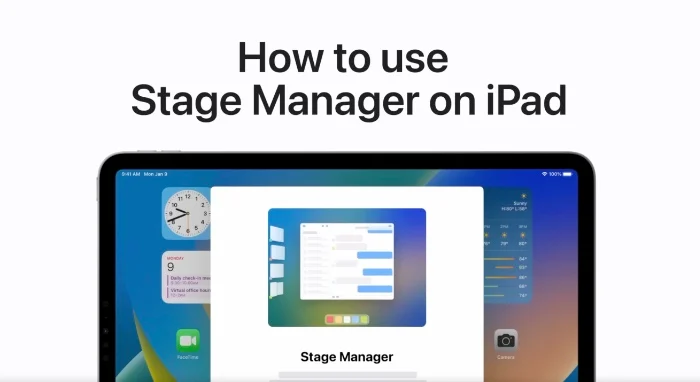
This guide will show you how to use Stage Manager on the iPad. If you have recently upgraded to the iPad Air 5th generation, iPad Pro 12.9 inch third generation, or any newer iPad model, or if you’re using an iPad Pro 11 inch running the most recent version of iPadOS, this article is designed with you in mind. We’re set to explore one of the most transformative features these devices have to offer, a feature that truly distinguishes these iPad generations from their predecessors — the Stage Manager.
Stage Manager, a groundbreaking iPadOS functionality, is not just another feature on the list; it’s an intuitive tool designed to redefine the way you interact with your iPad. This feature is an instrumental game-changer when it comes to crafting a streamlined, efficient digital workspace right on your iPad screen. Imagine having the power to group your apps in a way that makes sense to you, being able to resize your app windows to your liking, and having the flexibility to switch between these groups with a level of fluidity that can only be described as ‘smooth.
The purpose of the Stage Manager feature is not just to make multitasking possible, but to make it efficient, intuitive, and satisfying. It’s about creating a digital workspace that matches your work rhythm and enhances your productivity. By leveraging the full potential of Stage Manager, you’re not only navigating the digital realm more effectively, but you’re also optimizing your work or play environment to better align with your needs and preferences.
So, let’s dive deeper and discover how the Stage Manager feature on the iPad can propel your productivity to new heights, streamline your tasks, and revolutionize your digital interaction experience.
Enabling Stage Manager
To start off, you’ll need to enable the Stage Manager feature. Here’s how to do that:
- Open the Control Center on your iPad.
- Look for the Stage Manager icon and tap on it.
That’s it! You’ve just activated Stage Manager.
Creating Your Ideal Workspace
Once Stage Manager is enabled, you can open an app and then a second app from the dock or the app library. The first app will automatically be sent to the recent apps list on the left side of your screen.
If you’d like to resize a window, simply drag the corner marked with a curve. Stage Manager allows for customization so you can adjust the size of your app windows to best suit your needs.
Grouping Apps Together
A key feature of Stage Manager is its ability to group apps together for seamless multitasking. To group apps, touch and hold an app icon in the recent apps list, dock, or app library, and drag it to the center of your screen.
Easy Navigation Between Groups
Switching between different groups is made easy with Stage Manager. To view the recent apps list, swipe right from the left edge of the screen. Tapping on a group of apps will switch you to those windows, arranged just as you left them.
Opting for Full-Screen View
If you prefer working on one task at a time, you can change to a full-screen view. Tap the multitasking button at the top of the app window, then tap ‘enter full screen’.
Adding Apps to Different Groups
Stage Manager also allows the flexibility to move an app from one group to another. To do this, tap the multitasking button again and select ‘add another window’. The open app will shift to the right, revealing your other open apps, groups, dock, and app library. Tapping on a group will add the current app to it.
To summarize, Stage Manager on iPad revolutionizes the way we multitask. It is designed to enhance productivity by allowing users to group apps together, resize windows, and effortlessly switch between groups. Whether you are working on a complex project or simply want to streamline your digital workspace, mastering the Stage Manager feature is a great place to start. We hope that you find this guide helpful and informative, if you have any comments, questions or suggestions, please leave a comment below and let us know.
Image Credit: Apple / YouTube
Filed Under: Apple, Apple iPad, Guides
Latest Aboutworldnews
Disclosure: Some of our articles include affiliate links. If you buy something through one of these links, Aboutworldnews may earn an affiliate commission. Learn about our Disclosure Policy.


